Bondshell Styling Tutorial
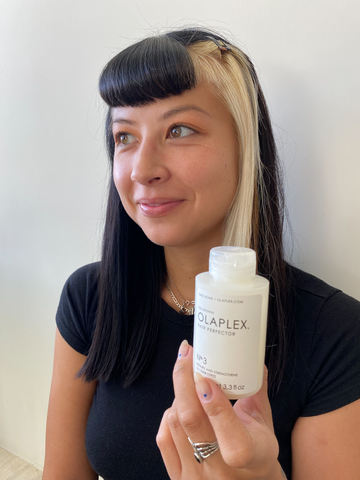
When we think of Bondshells we think of major mane moments like the iconic, glamorous hairstyles of the 1990s and 1950s. Shine, volume, texture; these looks holler the holiday season and sprinkle a little gold dust on the way. Our model is none other than classic car and moto enthusiast Photographer Adri Law. Adri has fine, straight hair. Her hair is color-treated to nearly black and partially lightened to platinum. She uses OLAPLEX to keep the integrity of her hair strong and healthy.
Now, a style like this is unique and deserves a beauty ritual beforehand! To keep her hair as healthy as possible, Adri preps her hair with OLAPLEX No.3 before any heavy-on-the-heat styling session. An OLAPLEX treatment is a fabulous way to prepare your hair and practice routine bond-building maintenance, especially when it comes to special occasion thermal styling.
Here’s what you’ll need to complete this style:
- Clips
- 1/4” curling iron
- OLAPLEX No.3 Hair Perfector
- OLAPLEX No.6 Bond Smoother
- OLAPLEX No.7 Bond Smoother
- Hairspray if desired

Step 1: Adri prepped her damp hair with an OLAPLEX No.3 treatment for the healthiest hair possible before thermal styling. Shampoo condition, then blow dry or air dry.

Step 2: Use OLAPLEX No.7 throughout the hair to streamline manageability and add heat protection up to 450 degrees f!

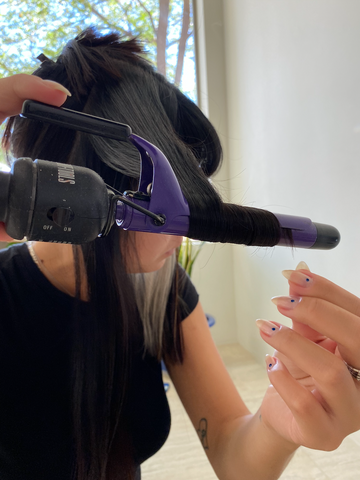
Step 3: Section the two front sides from the back and then separate those front parts in about 2-inch sections.

Step 3: Begin by curling each subsection at a time. After curling each subsection, gather the curl and pin back down to the section. Continue until all subsections are curled and pinned. Allow the set to thoroughly cool.

Step 4: Release the curls from the pins and brush out with a boar bristle brush.


Step 5: Once the desired shape is formed from the brush out, apply No.7 for extra shine and a small amount No.6 to tame any flyaways.


